
Last updated November 14, 2026
 Wrought iron
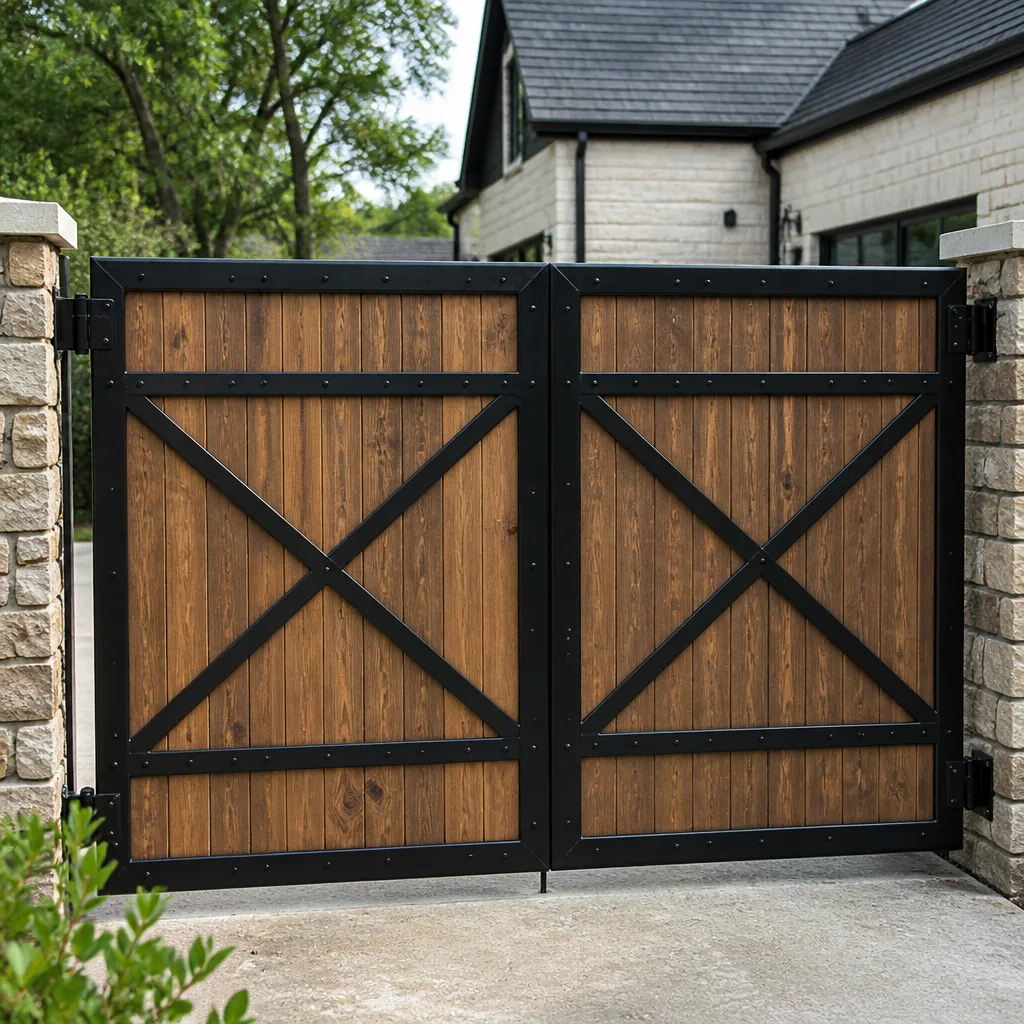 Wood & steel frame
 Farm & ranch
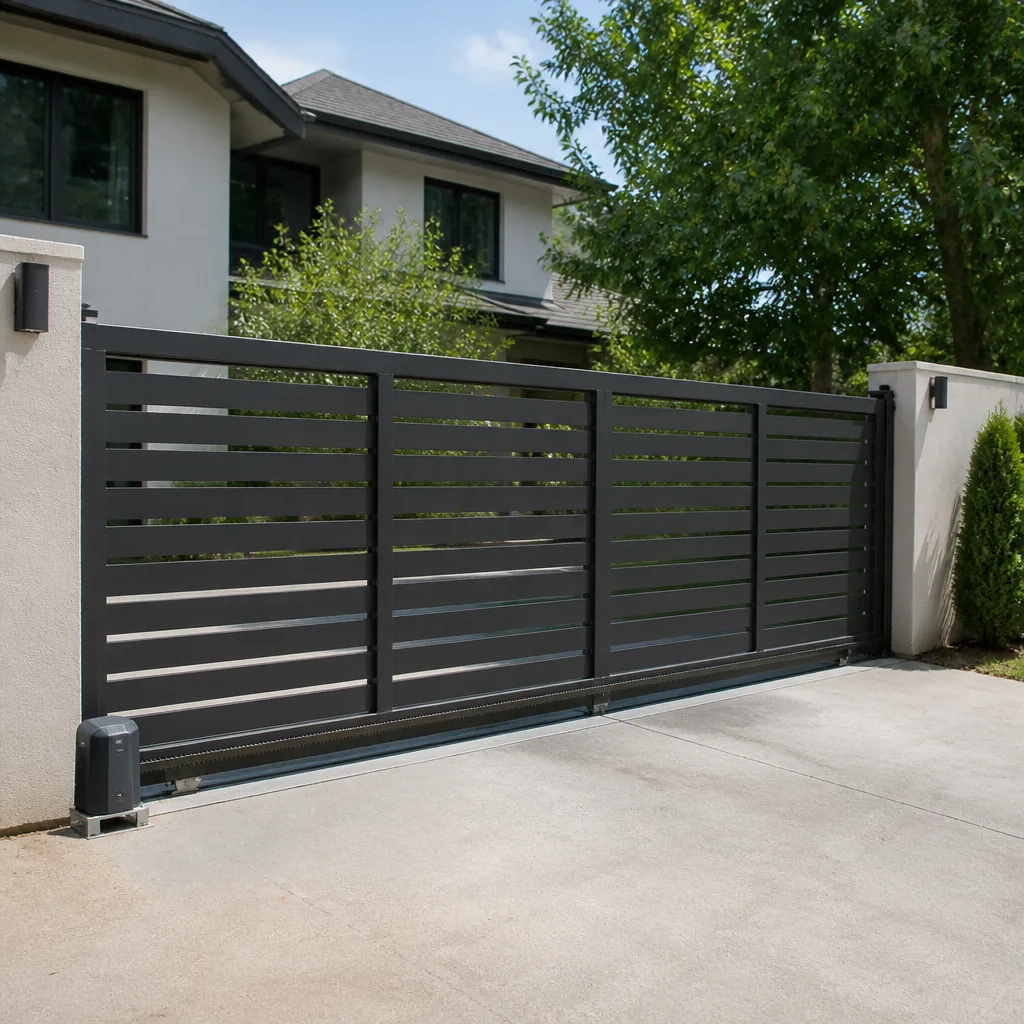 Sliding driveway gates
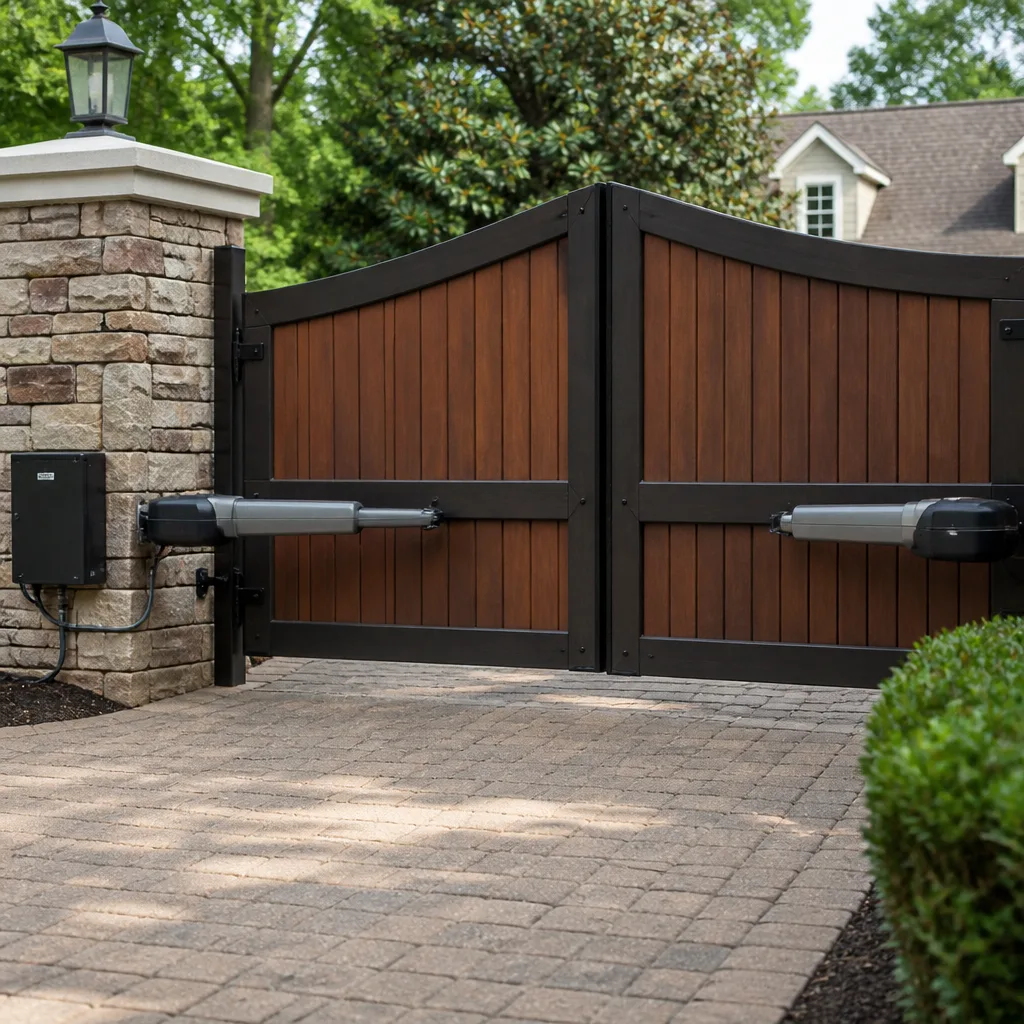 LiftMaster operators
Free on-site gate assessment - hinges, posts, and your LiftMaster or Nice gate operator checked before anything is quoted
The assessment is free and the quote is the invoice.
Get your free estimateGate Repair Maintenance Checklist for Hillsboro Homeowners
Lubricating a rack-and-pinion drive with the wrong grease doesn’t just fail to help. It attracts grit, accelerates wear on the pinion, and can void the warranty on most operators. Walk through half the maintenance videos online and you’ll watch someone spray a lubricant built for hinges onto a drive system that needs something else entirely. The gate keeps moving for a while, so it looks fine. Then the pinion starts chewing itself flat. This guide is different because it’s organized by the actual mechanical systems inside your gate: structure, drive, electrical, access. You check them in an order that reveals cascading problems before they compound, and you learn which tasks belong to you and which belong to a technician. We’ll cover Hillsboro conditions too, because freeze-thaw cycles in this part of Oregon move posts in ways flat-country checklists never account for.
Styles & brands we work with
- Wrought iron
- Wood & steel frame
- Farm & ranch
- Sliding driveway gates
- LiftMaster operators
Quick Answer
A homeowner gate maintenance checklist in Hillsboro should cover four systems in sequence: structure (posts, hinges, ground contact), drive (operator, chain or rack, limit switches), electrical (control board, loop detectors, safety sensors), and access (keypad, intercom, remote receivers). Check structure first with a string line after winter, inspect and correctly lubricate the drive, test safety reversals monthly, and log every observation with dates so intermittent faults can be diagnosed. Anything involving voltage measurement on the control board belongs to a technician, not a homeowner.
Table of Contents
- Why the Order of Your Checklist Matters
- Step 1: Structural Checks – Posts, Hinges, and Ground Contact
- Step 2: Mechanical Checks – Operator, Drive, and Limit Switches
- Lubricant Compatibility by Drive Type
- Step 3: Electrical Checks – Control Boards, Loops, and Safety Edges
- Step 4: Access Checks – Keypads, Intercoms, and Remote Receivers
- How to Log Maintenance So a Technician Can Diagnose Intermittent Faults
- A Hillsboro Seasonal Schedule
- Common Mistakes to Avoid
- When to Call a Professional
- Frequently Asked Questions
- The Bottom Line
Why the Order of Your Checklist Matters
Most gate problems don’t start where they show up. A gate that drags, reverses at random, or stops halfway usually traces back to something upstream of the symptom. A post that shifted a quarter inch during the last freeze pushes the gate leaf into a bind, the operator compensates with more force, the safety system reads that force as an obstruction, and the gate reverses. The operator gets blamed. The post gets ignored.
That’s why the sequence here starts with structure and ends with access. Each check eliminates a layer of possible causes, so by the time you reach the control board you already know whether the electronics are being fed bad mechanical information.
Here’s the logic in one line: structure feeds the drive, the drive feeds the switches, the switches feed the board, and the board feeds everything you touch. If the structure is loose, nothing downstream reads true.
A checklist that skips this order is just a list of tasks. That’s what you’ll find on most fence and handyman sites, and it’s why we built our maintenance approach around the systems themselves. Gates are all we do, and the diagnosis order is the reason the work stays efficient.
What This Checklist Assumes
- You have a swing or slide gate with an automated operator, or a manual gate you want to keep closing clean for years.
- You’re comfortable with visual inspection, cleaning, lubrication, and basic testing.
- You understand that anything involving voltage measurement, live wiring, or operator force calibration is technician work.
If your gate system is a LiftMaster, Linear, Viking, FAAC, or BFT operator, the four-system structure applies the same way. The brand changes the specific parts and the service intervals, not the order of the checks.
Step 1: Structural Checks – Posts, Hinges, and Ground Contact
Structural problems cause more “operator failures” than any control board ever has. Check the gate’s frame and mounts before you touch anything electrical, and do it after every winter in Hillsboro, where freeze-thaw cycles work on soil more aggressively than most homeowners expect.
The String-Line Method for Post Movement
You don’t need a laser level. You need string, two stakes, and 10 minutes.
- Drive two stakes into the ground a few feet beyond the gate’s hinge post and latch post, in line with the original gate alignment.
- Tie a string taut between them, roughly gate-height, at the level the gate frame should sit.
- Measure the gap between the string and the gate frame at three points: the hinge end, the middle, and the latch end.
- Write the three numbers down with the date. A gate that reads evenly is aligned. A gate that reads differently at the hinge than at the latch has a post that’s leaning.
- Repeat after every freeze-thaw cycle. Two consecutive measurements with a widening spread mean the post needs attention before it causes operator strain.
Write those numbers in a notebook. In six months they’ll tell a technician more than an entire afternoon of inspection ever could.
What to Inspect on the Frame and Hardware
- Hinge play: Lift the gate slightly and watch for movement where the hinge meets the post. Any vertical slop means the hinge pin or bearing has worn.
- Ground contact: On swing gates, the low corner shouldn’t scrape or hover. Scraping wears welds and frame steel; hovering puts the whole leaf’s weight on the operator.
- Rust at weld joints: Western Oregon’s wet winters are hard on exposed welds. Surface rust is cosmetic. Rust blooming out of a crack in the weld is not.
- Post base: Look for soil that’s pulled away from the base, or a post that rocks when you push the gate through its arc. Both suggest footing movement.
- Ground track on slide gates: Debris, gravel, or tree sap on the track will drag the gate and mislead the operator’s limit settings.
If your gate repair needs go deeper than adjustment, that’s a conversation worth having early. gate repair covers anything from hinge replacement to post stabilization, and it’s cheaper than the operator damage a loose structure causes.
Step 2: Mechanical Checks – Operator, Drive, and Limit Switches
Once the structure is confirmed sound, move to the drive system. This is where most homeowner maintenance goes wrong: people lubricate everything, adjust the operator force when the gate drags, and call it done. Force adjustment on an operator is almost never the right fix. It’s a way of hiding a mechanical problem until it gets expensive.
Operator Inspection
- Listen to the gate cycle from start to finish. Grinding, clicking, or a rhythm that changes mid-travel points to a drive or limit issue.
- Check the operator housing for water intrusion. In Hillsboro, a housing that isn’t fully sealed fills with moisture during the wet season, and the damage starts on the control board.
- Look at the manual release. It should work smoothly and re-engage fully. A release that sticks is a sign of internal wear.
- Check belt tension on belt-drive operators. Loose belts slip and put the load on the motor.
Drive and Limit Switch Checks
On a rack-and-pinion slide gate, the pinion gear meshes with a rack mounted along the gate. On a chain-drive swing gate, the chain runs from the operator through an idler to open and close the leaf. On a screw-drive operator, a threaded rod turns to drive the gate. Each has different wear points.
- Rack-and-pinion: Check that the pinion sits fully in mesh with the rack along the whole travel. Look for flat spots on the pinion teeth.
- Chain-drive: Check chain slack. A chain that’s too tight wears the operator bearings; too loose and it jumps the sprocket.
- Screw-drive: Check for play in the threaded rod and for any grinding sound that wasn’t there last month.
- Limit switches (all drive types): Run the gate to full open and full close. It should stop cleanly without hitting a hard stop or reversing. If it needs to travel further than the switch allows, the switch position needs adjustment, not the operator force.
We’ve seen more operators condemned because of a mis-set limit switch than any other mechanical cause. A limit switch adjustment takes a technician a few minutes. An operator replacement costs a great deal more.
Force Calibration Belongs to a Technician
Every automated operator has a force setting that tells it how hard it can push before it reverses. When a gate starts dragging, the temptation is to increase force. Doing that disables a safety feature. Force calibration involves measuring the actual reversing force against code requirements, and that’s a job for someone with the right tools. Leave it alone.
Lubricant Compatibility by Drive Type
This is where maintenance actually earns its keep, and where most online advice goes wrong. The wrong lubricant doesn’t just fail to protect the drive – it attracts grit, holds it against the gear teeth, and grinds the drive down faster than doing nothing would have. It also voids a lot of operator warranties. Read that line again. Doing nothing is often better than using the wrong product.
Rack-and-Pinion Slide Gates
Use a dry-film or dry PTFE lubricant on the rack teeth, or a manufacturer-specified gear grease if the operator manual calls for one. Do not use chain lube, WD-40, or general-purpose grease. All three attract dust and grit, and grit is what wears pinions flat. Clean the rack with a stiff nylon brush before applying anything, and wipe off excess.
Chain-Drive Swing Gates
Use a chain-specific lubricant designed to penetrate the pins and stay on the chain without running off onto the gate frame. Apply sparingly, cycle the gate a few times, and wipe the outside of the chain with a rag. Chain lube that drips onto the driveway or into the operator housing is being over-applied. Never use motor oil – it slings off and gathers dirt.
Screw-Drive Operators
Use the manufacturer’s specified grease for the threaded rod, applied thinly. Screw drives are the most sensitive to over-greasing in our experience, because excess grease traps grit between the rod and the drive nut. Clean with a rag, apply thin, cycle, and wipe.
Hinges, Rollers, and Pivot Points
These are the one place a standard multi-purpose grease is fine. Apply a light coat to hinge pins on swing gates and to the wheel bearings on slide gates, then wipe off the excess. Lubricating these on a schedule reduces the operator load more than any other single task.
What Never Goes on a Gate Operator
- WD-40 as a long-term lubricant (it’s a cleaner and a light water displacer, not a gear lubricant)
- White lithium grease on rack-and-pinion teeth (it attracts grit)
- Motor oil on chains (slings off, attracts dirt)
- Anything not listed in your operator’s manual on the operator’s internal gears
If you don’t have the manual for your operator, a quick call to us can usually answer which lubricant your model wants. We work regularly with FAAC, BFT, Linear, and Viking operators, and we’ve seen most of them in the field.
Step 3: Electrical Checks – Control Boards, Loops, and Safety Edges
Here’s the line that matters most in this whole guide: wiring, voltage measurement, and control board diagnostics belong to a technician. Everything in this section is limited to what a homeowner can check safely with nothing in their hands but eyes, ears, and a test object.
What a Homeowner Can Safely Check
- Safety reversal test: Place a test object (a piece of wood or a rolled towel) in the gate’s path and cycle it. The gate should stop and reverse. Do this monthly. It’s the most important safety check on any automated gate.
- Photo-eye alignment: If your gate has infrared photo-eyes, confirm the beam is unobstructed. Dust, cobwebs, and dirt on the lenses are the most common causes of a gate that “randomly reverses.”
- Visual inspection of wiring: Look for fraying, chew marks from rodents, or connections that have pulled loose. Don’t touch anything; just note what you see.
- Loop detectors: On a driveway that uses an in-ground loop to trigger opening, test by driving a car over the loop and watching for activation. If it works when wet but not when dry (or vice versa), the loop wire may have moisture intrusion or a crack.
- Safety edges: If your gate has a pressure-sensitive safety edge on the closing edge, press it gently while the gate is stopped to check it’s firm. A soft, loose safety edge may not trigger on contact.
Why DIY Voltage Work Is a Bad Idea on Automated Gates
The control board runs low-voltage logic but is fed from line voltage. Getting near a live board without knowing exactly which terminals are hot is the way people get hurt. There’s also a practical reason: poking around with a multimeter without knowing what reading to expect usually results in a blown board, and a replacement board on any major operator brand runs from significant money to more than a modest used car.
When a fault involves wiring, a control board, or anything you can’t reach with a visual check, call us. electric gate repair is the work we do every week, and a trained set of hands on the board saves far more than it costs in avoided damage.
Signs That Point to an Electrical Fault
- Gate reverses at random, especially at the same point each time
- Remote range has dropped significantly
- Operator clicks but doesn’t move
- Safety reversal test fails, or the gate reverses before contact
- Loop detector fires when no vehicle is present
- Keypad or intercom stopped triggering the gate
Any of these means a technician with a voltage meter should be there. The intermittent ones are the hardest, and they’re the reason for the next-to-last section of this guide.
Step 4: Access Checks – Keypads, Intercoms, and Remote Receivers
Access devices are the last layer, and checking them last is deliberate. A keypad that “stopped working” might actually be a control board that isn’t sending power to it. If you check access devices first, you’ll blame the keypad. If you check them last, you’ll already know the board is healthy (or not), and the diagnosis is direct.
Keypad and Intercom Checks
- Test each code you and your household use. A code that stopped working may just need re-entering after a power event.
- Check the keypad housing for cracks and water intrusion. Hillsboro’s wet season finds every crack.
- On intercoms, test the audio both ways. If you can hear the visitor but they can’t hear you, the speaker or mic connection is likely the problem.
- Confirm the keypad is getting power. If the display is dead, no amount of code re-entry helps.
Remote Receiver Checks
- Test each remote from a normal approach distance. Compare range between two remotes; if one is fine and one isn’t, the problem is the remote, not the receiver.
- Change remote batteries on a schedule – once a year is enough for most models, and stale batteries are the source of a lot of “the gate stopped working” calls.
- Look for interference sources nearby. New wireless devices, metal fencing, or a metal gate frame can shorten receiver range.
- If you have multiple remotes and all your remotes have stopped working, suspect the receiver or the board, not the remotes.
Homeowners who use intercom and video access systems generally need a technician for diagnosis of these last-mile issues, because the access device is usually integrated with the operator’s board. If your keypad, intercom, or receiver has gone quiet, that’s a good moment to get on the phone. Our team works regularly with DoorKing access systems and with the residential brands most Hillsboro households use.
How to Log Maintenance So a Technician Can Diagnose Intermittent Faults
Intermittent faults are the hardest problems in gate repair, and the reason is simple: the fault has to happen while a technician is present to be diagnosed. If it happens once a week for 10 minutes and you schedule a service visit for Tuesday at 3 pm, there’s a real chance the gate will behave perfectly for the whole visit.
The solution is a maintenance log. It’s not glamorous. It works.
What to Record
- Date and time of every observation – “2026-03-14, 6:42 am” is more useful than “mid-March.”
- Weather at the time – wet, dry, cold, windy. Many faults correlate with moisture or temperature.
- Exactly what happened – “Gate stopped 60% open and reversed” is useful; “gate acted up” is not.
- Exactly where on the travel – approximate position at failure. Even “about a third of the way open” helps.
- Which input triggered it – remote, keypad, loop, intercom. Note the model or which remote.
- What you did to recover it – opened with manual release, cycled the power, waited 10 minutes. This tells a technician a lot about the fault type.
- Structural readings – the string-line gaps from Step 1, dated.
Why This Saves Time and Money
An intermittent fault with a good log takes one service visit to diagnose. The same fault without a log can take three visits across a month, because the technician has to run the gate through conditions that only occur occasionally. We’ve seen logs cut diagnosis time dramatically, and it’s a habit worth building before you have a problem.
Your log is also a record of your own maintenance, which is what manufacturers look at when a warranty question arises. Keep it somewhere dry. A notebook in the kitchen is fine.
A Hillsboro Seasonal Schedule
Hillsboro gates face a specific set of stresses over the year. Freeze-thaw cycles in winter shift soil and move posts. Spring brings wet soil and the highest risk of discovering a footing problem. Summer warms the operator and can make an over-greased drive worse, not better. Fall drops leaves and debris onto tracks and loop areas, and its wind storms test every fastener.
Winter (December through February)
- Do a structural string-line check before the first hard freeze and once mid-winter.
- Confirm operator housing is fully sealed; moisture damage starts here.
- Keep loops clear of standing water.
Spring (March through May)
- Full four-system inspection after the last freeze. This is when post movement from winter shows up.
- Clean and re-lubricate the drive with the right product.
- Test the safety reversal to confirm it works properly after winter.
Summer (June through August)
- Check operator housing temperature. An unshaded operator on a metal gate frame in full sun can run warmer than spec.
- Inspect for dry-season dust in rack-and-pinion drives; add dry lubricant if the rack looks dry.
- Test all access devices since they’ll get more use during the outdoor months.
Fall (September through November)
- Clear leaves and debris from tracks, loops, and the operator’s path weekly. Fall storm winds in Hillsboro also knock things loose.
- Test photo-eyes with the reduced daylight – a lens with a smudge that didn’t matter in summer can fail when light is low.
- Change remote batteries before the season of heavy use.
- Full four-system inspection before winter weather arrives.
If you’re a property manager with multiple gates on a Hillsboro site, having a seasonal calendar tied to the same four systems makes scheduling cleaner and reduces surprise calls. We work with HOAs and commercial sites as well as homes, and the calendar applies the same way.
Common Mistakes to Avoid
- Increasing operator force to fix a dragging gate. If the gate drags, find out why. A mis-set limit switch, a worn hinge, or a shifted post all cause drag, and raising force just hides a mechanical problem until the drive breaks. Push the force setting higher and you’re disabling a safety feature at the same time.
- Spraying generic grease on a rack-and-pinion drive. This is the mistake the opening of this guide called out, and it’s on every homeowner gate we’ve opened up in Hillsboro. Grit binds to the grease and grinds the pinion. Use a dry-film or manufacturer-specified product, and clean before you lubricate.
- Assuming the operator is broken when a keypad or intercom has failed. Check the access devices and the board’s behavior before ordering an operator. Roughly speaking, the operator is the last thing we want to replace, and it’s often the most expensive fix on the board.
- Ignoring post movement after winter. Western Oregon’s freeze-thaw cycles move soil. A post that moved a fraction of an inch each winter can be fine one year and start dragging the gate the next. The string-line check catches this before it becomes an operator problem.
- Skipping the monthly safety reversal test. The reversing feature is the most important safety feature on an automated gate, and it’s the one that fails silently. Test it once a month with a physical object in the path.
- Over-greasing any drive system. More grease is not better grease. Excess grease holds grit. Clean and thin application beats a thick coat every time.
- Not logging anything. Without a log, an intermittent fault is diagnosed by guesswork. With a log, it’s diagnosed in one visit. This is the habit we try hardest to teach homeowners.
When to Call a Professional
Call a technician when the fix requires a voltage meter, when a structural post needs stabilization, or when the operator’s force calibration needs to be checked. Also call if your gate reverses at random, if the drive sounds like it’s grinding, if a post shows movement in a string-line check, or if a keypad, intercom, or loop has stopped triggering the gate and a quick visual inspection didn’t explain it. Those are the situations where guessing costs more than diagnosing.
Our technicians have up to 8 years of experience with automated gates across most major brands, and we can diagnose most intermittent faults in a single visit when the maintenance log is in hand. Gate Repair Hillsboro offers free estimates in Hillsboro – call (855) 251-3899. We answer 24/7. Fast dispatch from 7am to 7pm, Sunday through Friday.
If you’re not sure whether your situation is a technician job or a homeowner task, that’s a conversation worth having anyway. A quick call beats a guess. The piece of mind of knowing which tasks are safe to do yourself and which aren’t is worth more than the call costs. Many homeowners find it helpful just to walk the four systems on the phone and hear what a technician would look at first.
Frequently Asked Questions
Once a month, at minimum. Place a physical object in the gate’s path and cycle it – the gate should stop and reverse. Do it more often if the gate sees heavy daily use, and always retest after any weather event that involved wind, snow, or ice. If the gate fails to reverse, stop using it until a technician can look at it.
A dry-film or dry PTFE lubricant, or the manufacturer-specified gear grease if your operator manual calls for one. Never use chain lube, WD-40 as a long-term product, or general-purpose grease on the rack teeth. Those attract grit, and grit is what wears pinions flat. Clean the rack with a nylon brush before applying anything, and wipe off excess.
Yes, with the string-line method. Drive two stakes beyond the hinge and latch posts, tie a string taut at gate height, measure the gap at three points along the gate, and record the readings with a date. Repeat after winter. If the spread widens over two readings, the post needs a technician’s attention.
The most common causes are a photo-eye that’s misaligned or dirty, a limit switch that’s slightly off, or a structural drag that the operator reads as an obstruction. Check the safety reversal test and clean the photo-eyes first. If the reversals continue, or if they happen at the same point in the travel each time, the cause is electrical and a technician should diagnose it.
No. Force calibration affects the gate’s reversing behavior, and setting it wrong disables a safety feature. It requires knowing the target reversing force for your operator model and the tools to measure it. Leave it to a technician, and if your gate is dragging, find the mechanical cause instead of raising the force.
No. FAAC, BFT, Linear, and Viking all publish their own service intervals, and they differ. The brand also determines the specific lubricant and the parts that need checking most often. That’s why a maintenance checklist needs to reference your operator’s model and manual, not just a general list. Call us if you don’t know which model you have; we can usually tell from the housing.
The Bottom Line
A gate maintenance checklist earns its keep when it’s organized by the four systems that actually fail – structure, drive, electrical, and access – and checked in that order so every problem traces back to its source. Use the string-line method for post movement after every Hillsboro winter, match your lubricant to your drive type, keep hands off the control board, and log everything so intermittent faults can be diagnosed in one visit. That’s the whole guide in five sentences. Our technicians have up to 8 years of experience and see what a good log saves when it matters.
If it’s time for a professional set of eyes, or if you’d like your gate walked through the checklist once to establish a baseline, call (855) 251-3899 for a free estimate. We answer 24/7. Fast dispatch from 7am to 7pm, Sunday through Friday.
Written by the team at Gate Repair Hillsboro.
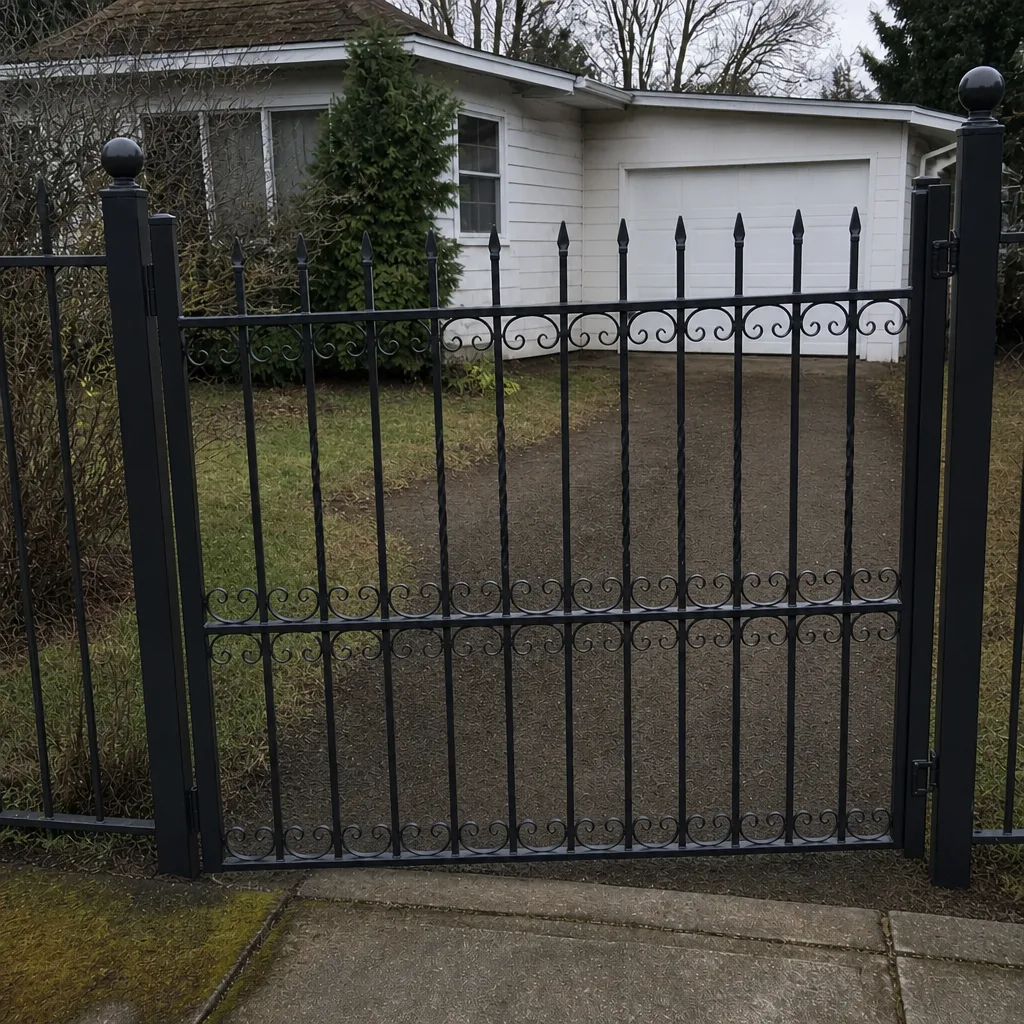
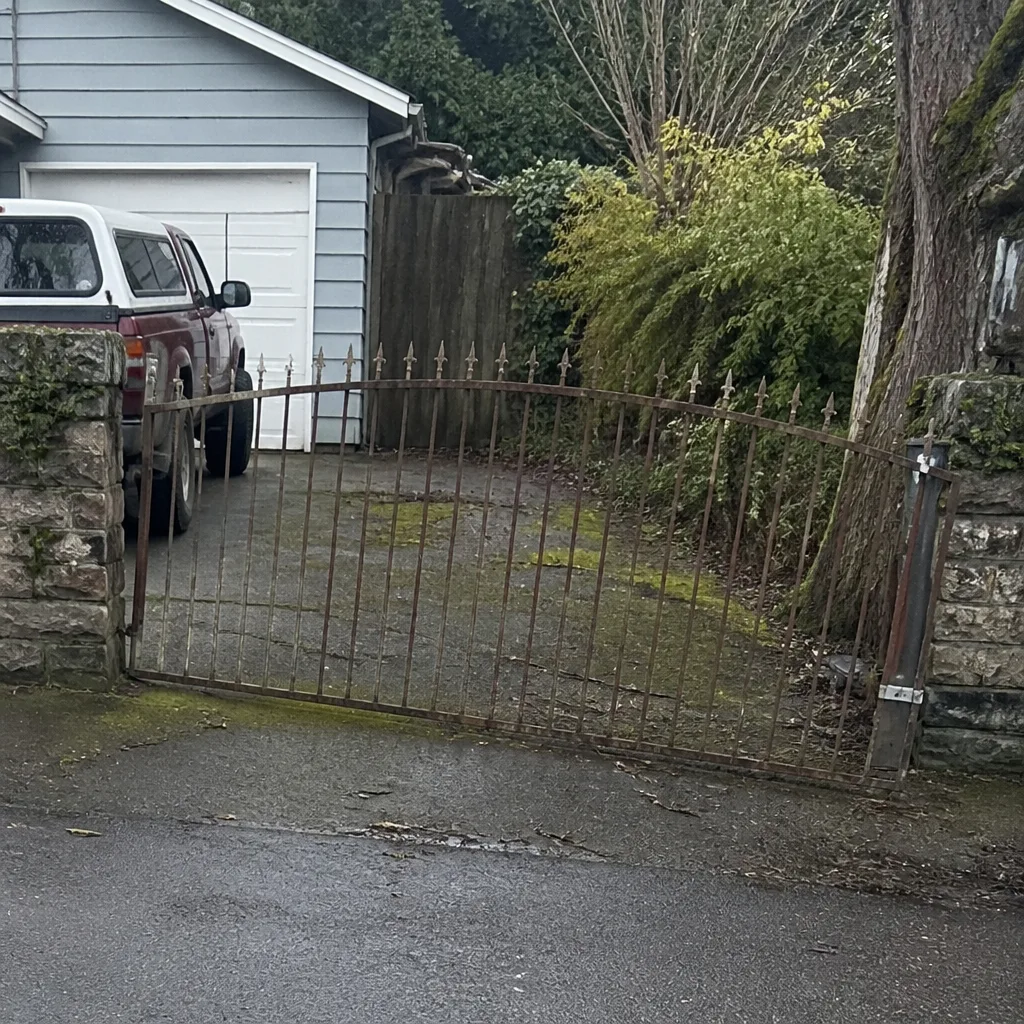
See the difference
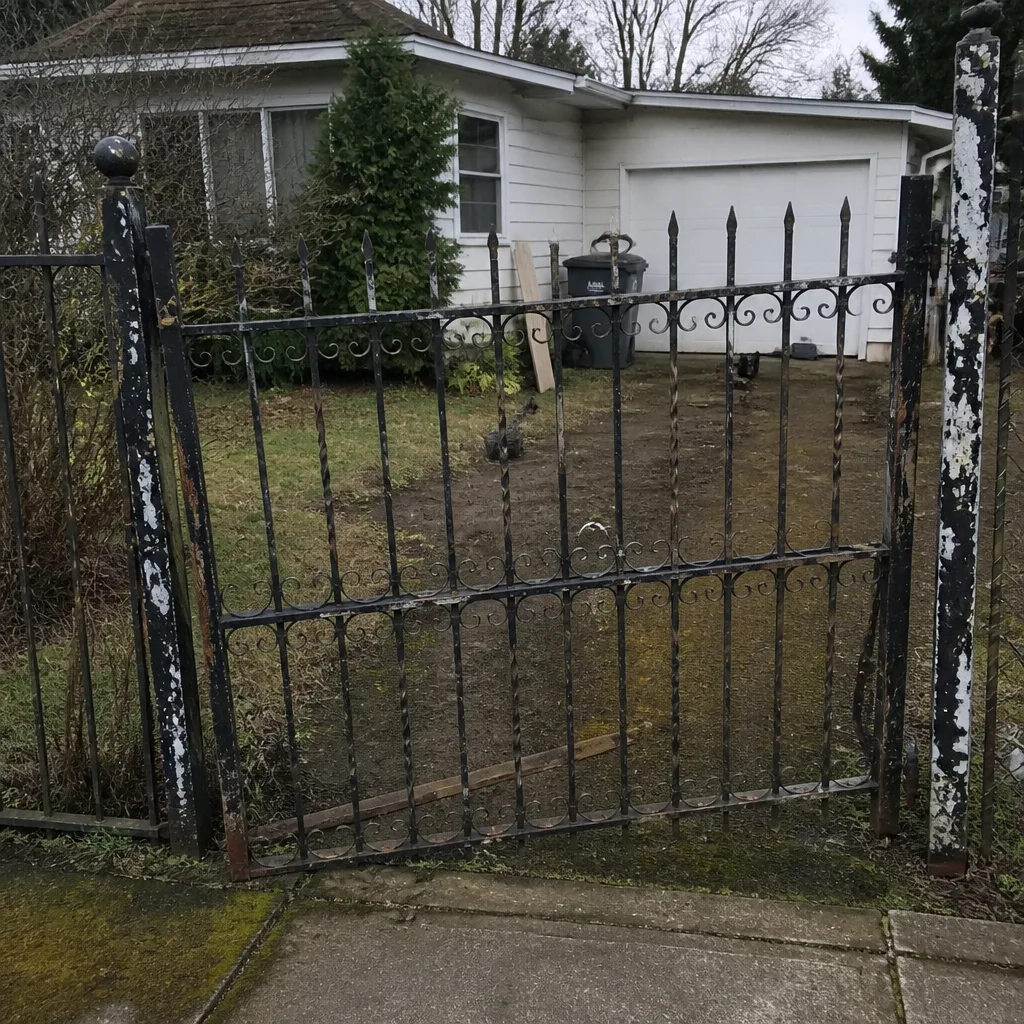 Before
 After
 Before
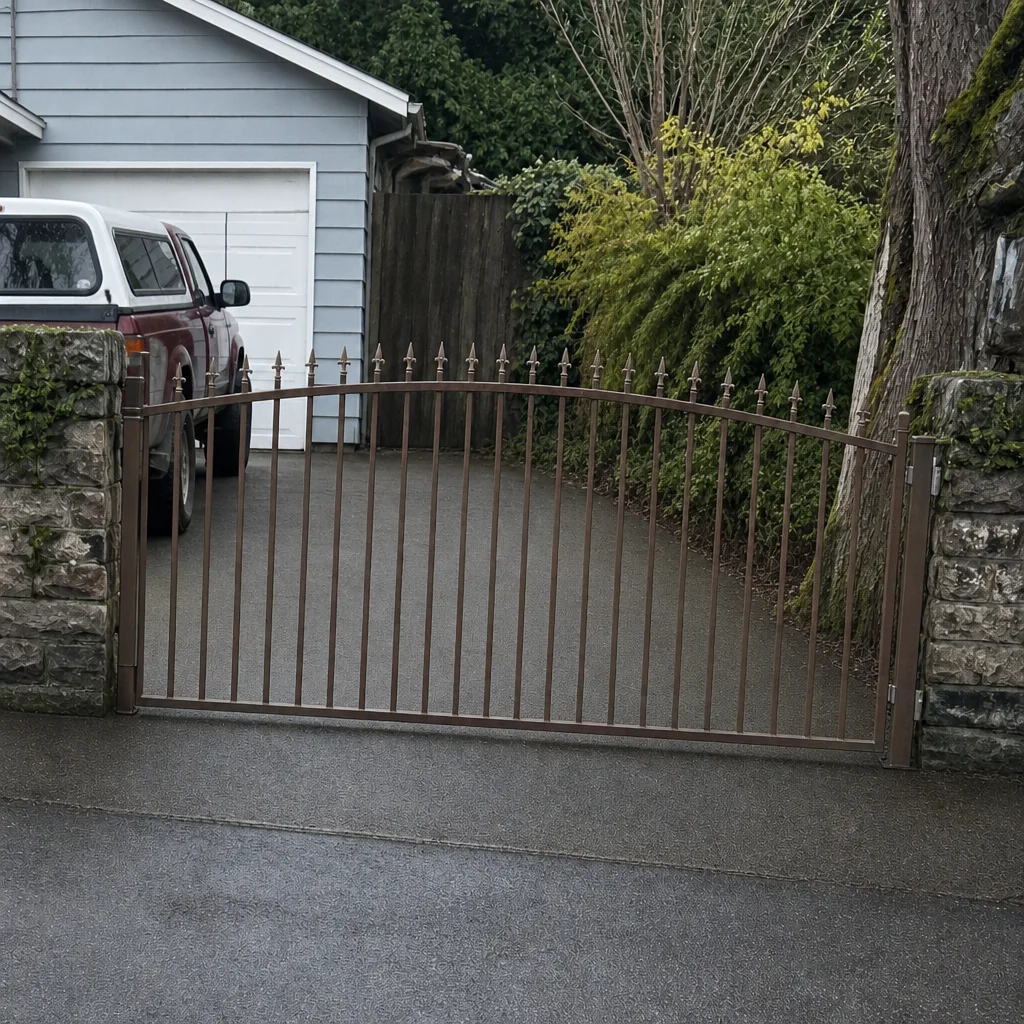 After
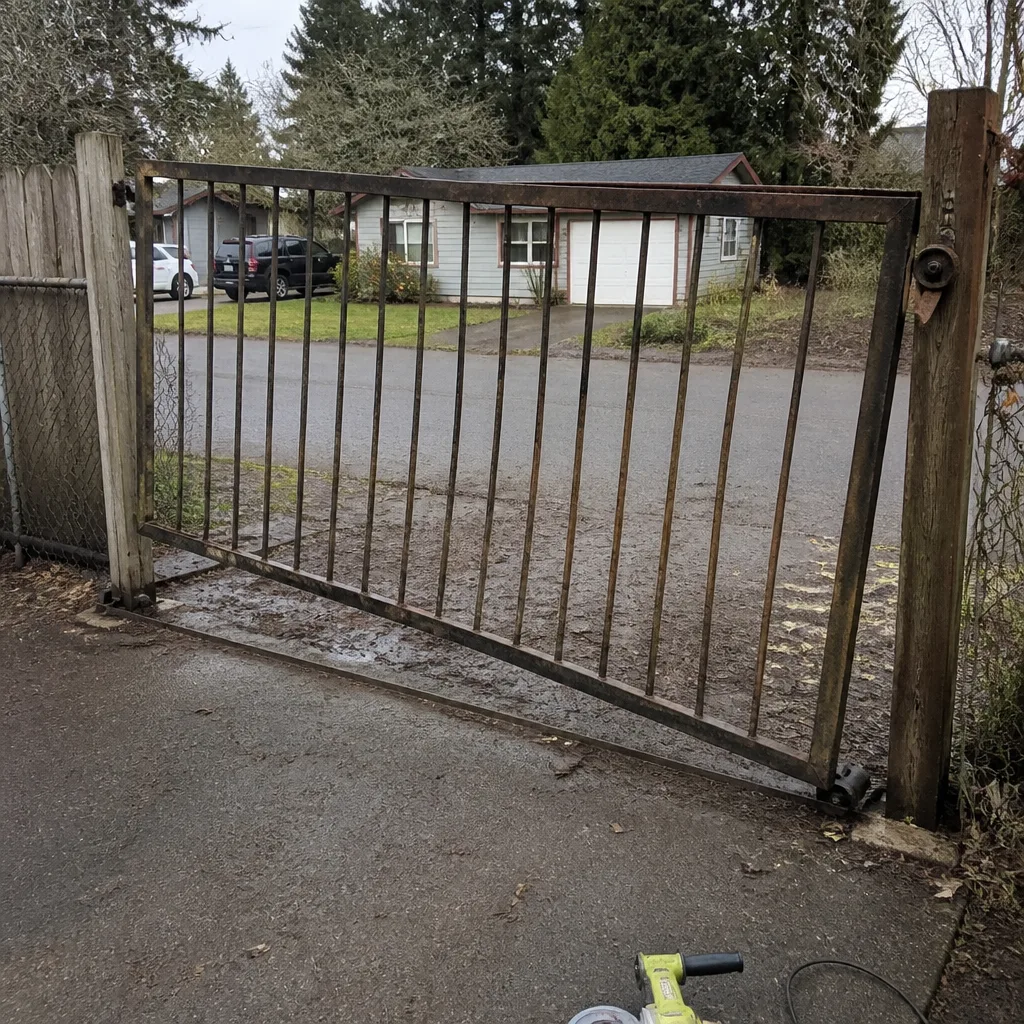 Before
 After